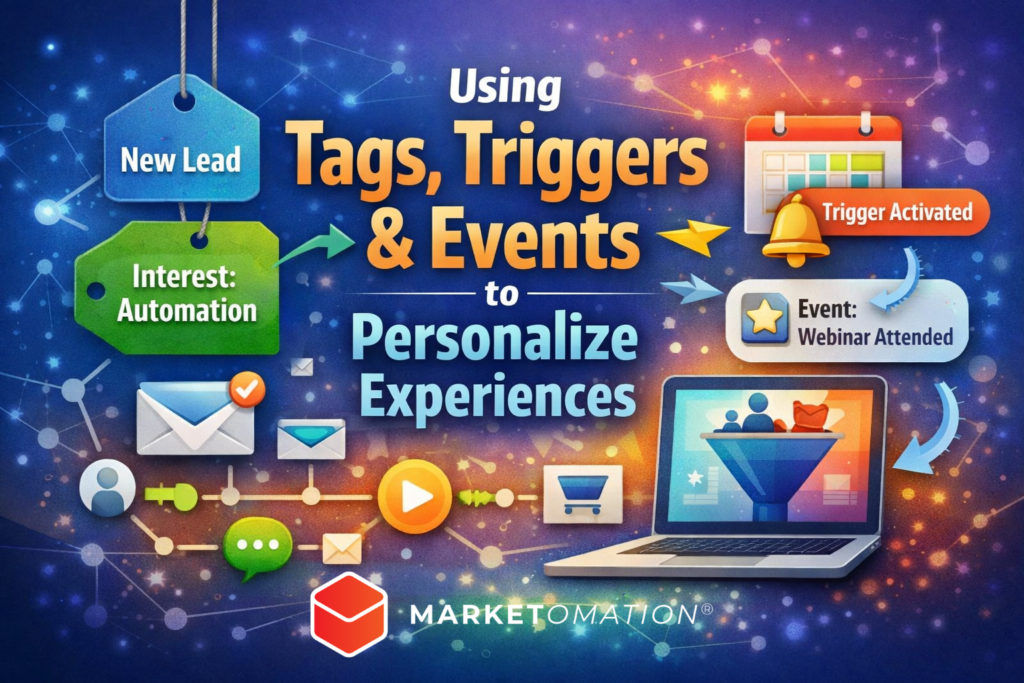
Using Tags, Triggers & Events to Personalize Experiences (Without Overcomplicating Your Automation)
Personalization is no longer optional in digital marketing. Buyers expect relevance. They expect timing. And they expect communication that feels like it was created specifically for them.
The problem? Most businesses either:
- Blast the same message to everyone
- Or over-engineer complex automation that becomes impossible to manage
The solution lies in three foundational automation tools:
Tags. Triggers. Events.
When used strategically inside your marketing automation system, these components allow you to create dynamic, behavior-driven experiences that scale effortlessly.
In this guide, we’ll break down exactly how to use tags, triggers, and events to personalize customer journeys inside MarketOmation—without turning your backend into chaos.
What Are Tags, Triggers & Events?
Before diving into strategy, let’s clarify the mechanics.
1. Tags = Identity & Segmentation
Tags are labels assigned to contacts based on:
- Actions (clicked a link, downloaded a guide)
- Attributes (industry, role, location)
- Funnel stage (lead, prospect, customer)
- Interests (SEO, automation, funnels)
Tags answer the question:
“Who is this person and what do we know about them?”
They allow you to:
- Segment your audience
- Trigger conditional logic
- Send targeted messaging
- Track engagement patterns
Think of tags as behavioral data markers.
2. Triggers = What Starts the Automation
Triggers initiate workflows. They activate sequences when a condition is met.
Common triggers include:
- Form submissions
- Link clicks
- Tag added
- Purchase completed
- Page visited
- Appointment booked
Triggers answer the question:
“What just happened?”
They are the entry points into personalized journeys.
3. Events = Behavioral Milestones
Events track significant actions that occur during or outside a workflow.
Examples:
- Webinar attended
- Video watched to 75%
- Subscription upgraded
- Cart abandoned
- Payment failed
Events answer the question:
“What meaningful behavior occurred?”
They allow you to adjust messaging dynamically and move contacts between workflows.
Why Personalization Matters More Than Ever
Behavior-based personalization improves:
- Open rates
- Click-through rates
- Conversion rates
- Customer lifetime value
- Retention and loyalty
Generic messaging creates friction. Behavioral messaging creates momentum.
The difference between:
“Here’s our offer.”
And:
“Since you downloaded our automation guide yesterday, here’s the next step to implement it.”
That’s the power of tags + triggers + events working together.
How to Build a Personalized Experience Step-by-Step
Let’s walk through a practical framework you can implement immediately.
Step 1: Define Your Core Segmentation Tags
Start simple. Do not over-tag.
Create foundational tags like:
- Lead – New
- Lead – Engaged
- Prospect – Hot
- Customer – Active
- Customer – VIP
- Interest – Funnels
- Interest – AI
- Interest – Automation
Avoid creating dozens of micro-tags unless absolutely necessary.
Pro Tip: Use naming conventions consistently.
Example: “Interest – AI” instead of random variations like “AI interest” or “AI lead.”
Step 2: Build Trigger-Based Entry Points
Instead of sending everyone through the same nurture sequence, create different entry triggers.
Example:
Scenario: Free Funnel Checklist Download
Trigger:
- Form submitted → Tag added: “Interest – Funnels”
Workflow:
- Send checklist
- Wait 1 day
- If email clicked → Add tag “Lead – Engaged”
- If not clicked → Send reminder
- If link clicked → Trigger demo invite sequence
This creates a responsive system instead of a static one.
Step 3: Use Events to Adapt in Real-Time
Events allow your automation to pivot.
Example:
- Contact enters sales sequence
- Event: “Booked Strategy Call”
- Automation immediately:
- Removes sales emails
- Adds tag: “Call Scheduled”
- Starts appointment reminder workflow
This prevents awkward messaging like:
“Book a call!”
After they’ve already booked.
Events keep your messaging aligned with behavior.
Advanced Personalization Strategy: Behavioral Branching
Once your basics are in place, you can build intelligent branching logic.
Example:
If:
- Tag = Interest – AI
AND - Event = Watched AI Demo Video 75%
Then:
- Send case study specific to AI automation
- Invite to advanced workshop
- Assign high-intent lead score
This is how you move from automation to orchestration.
Common Mistakes to Avoid
1. Over-Tagging
More tags does not equal better personalization. It often creates confusion and technical debt.
2. Trigger Overlap
Multiple workflows firing at once can create duplicate messaging. Always map your logic before activating campaigns.
3. Ignoring Cleanup Rules
Remove obsolete tags. Suppress contacts from sequences when conditions change.
Automation should simplify operations—not complicate them.
A Simple Personalization Framework You Can Use Today
If you’re just starting, use this structure:
- Tag based on interest
- Trigger nurture based on that tag
- Add engagement tags based on behavior
- Trigger sales sequence only for engaged contacts
- Use events to exit or shift workflows
That’s it.
You don’t need 50 workflows.
You need intentional ones.
How MarketOmation Makes This Easier
Inside MarketOmation, you can:
- Automatically apply tags from forms and funnels
- Build behavior-driven workflows visually
- Trigger sequences based on engagement
- Track events across campaigns
- Use conditional logic without coding
The result?
A personalized system that runs in the background—converting leads while you focus on growth.
Final Thoughts
Tags define identity.
Triggers start momentum.
Events refine direction.
When used together, they create intelligent marketing experiences that feel human—without requiring manual effort.
Personalization is not about complexity.
It’s about precision.
If your current automation feels messy or underperforming, simplify your structure, clarify your tagging system, and let behavior drive the experience.
That’s how modern marketing wins.