How to Import Campaigns into Workflows
If you have a campaign you wish to integrate into the Workflow builder, you can easily import it. By importing a Campaign into a workflow, you can customize it with several triggers, paths, and more, giving you more automation control over your business. Follow these steps to learn how:
Step 1: Create the Workflow and Import the Campaign
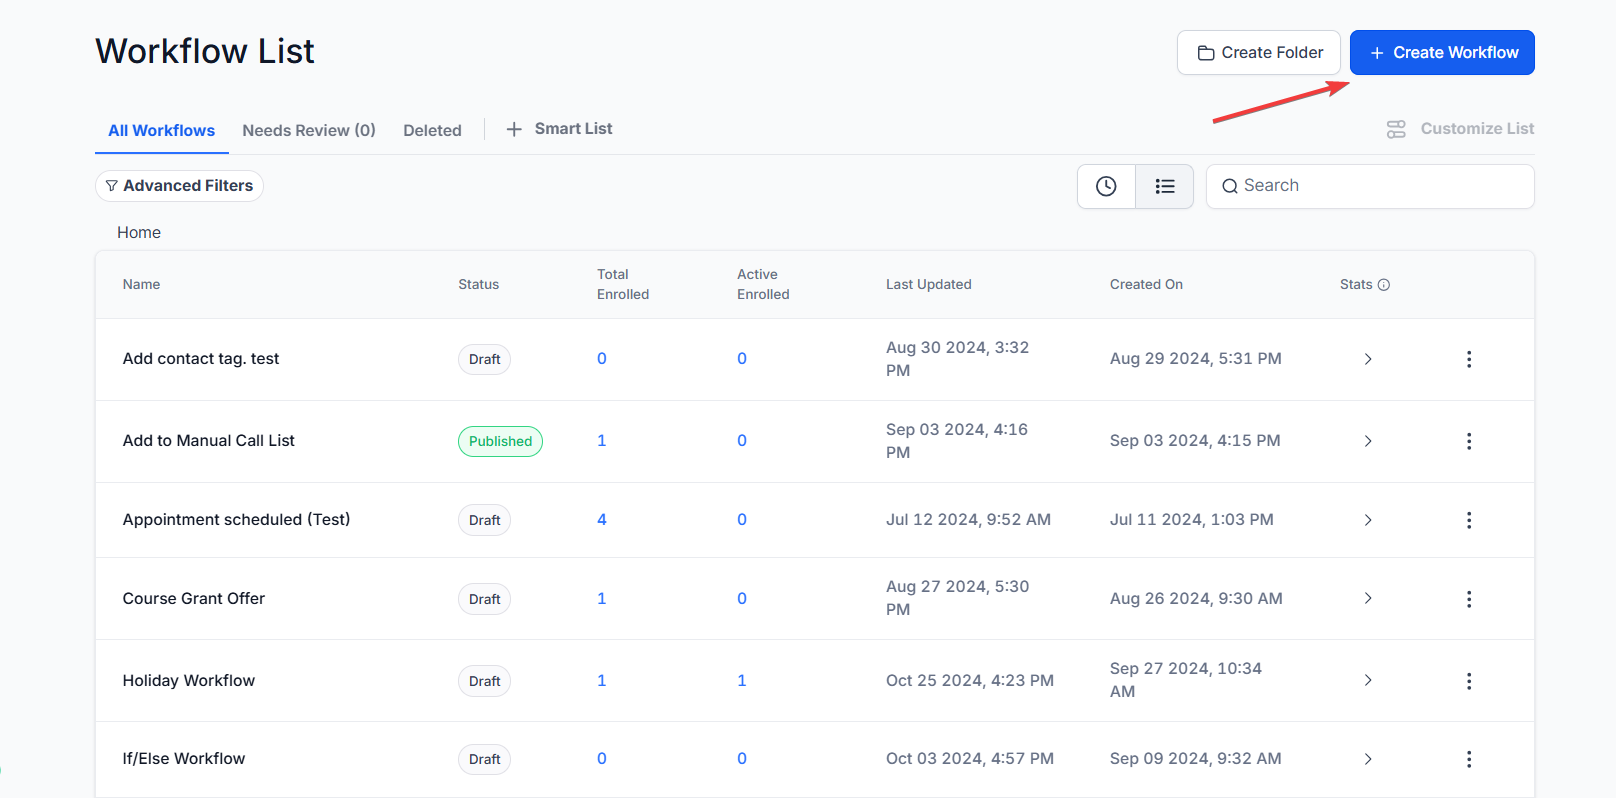
- Navigate to Automation > Workflows and click “+ Create Workflow.”

- Select “Import from a Campaign” and the dropdown list, and pick which Campaign you want to import.
- Click “Import” to import that campaign.
Step 2: Making Customizations
- The Workflow will be created from the imported Campaign automatically. You’ll see a message in the Workflow builder that will provide additional instructions and confirm that the import was successful.
- Click close to accept the message and confirm the import.
- Make any modifications or customizations.
- Save the Workflow.
- Publish the Workflow.
FAQ
- How do I import a campaign into the Workflow builder?
- To import a campaign, navigate to Workflows and click “+ Create Workflow.” Select “Import from a Campaign” from the dropdown list, choose the campaign you want to import and click “Import.” The campaign will then be added to the Workflow builder.
- What should I do after importing a campaign?
- After importing a campaign, you will receive a confirmation message in the Workflow builder. Click close to accept the message, then make any desired modifications or customizations to the workflow. Don’t forget to save and publish the Workflow once you’ve finished making changes.
- Can I customize the imported campaign?
- Yes, you can customize the imported campaign. After the import, make any modifications needed, such as adjusting triggers, paths, and other elements within the Workflow builder. Once customized, save and publish the Workflow to apply your changes.

