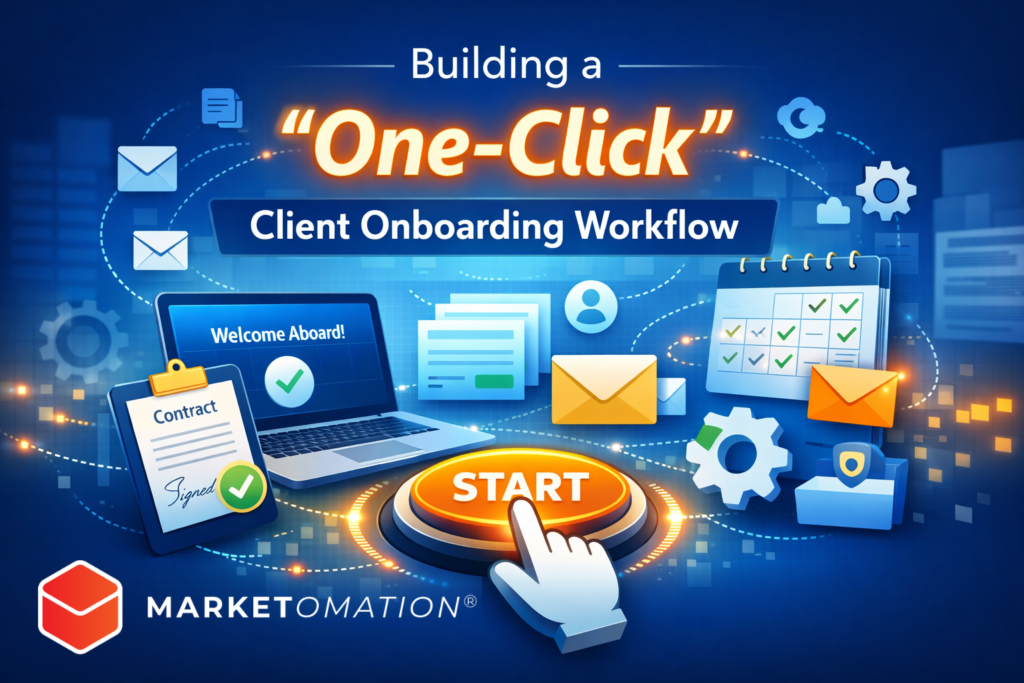
Building a “One-Click” Client Onboarding Workflow
Client onboarding sets the tone for the entire customer relationship. Yet for many businesses, onboarding is still manual, inconsistent, and time-consuming.
A “one-click” client onboarding workflow eliminates friction, reduces administrative overhead, and creates a seamless experience from the moment a client says “yes.”
In this guide, you’ll learn how to design and automate a streamlined onboarding system that delivers professionalism, efficiency, and scalability — without adding complexity.
What Is a “One-Click” Client Onboarding Workflow?
A one-click onboarding workflow is an automated sequence triggered by a single action — such as:
- Signed contract
- Completed checkout
- Paid invoice
- Approved proposal
- Form submission
Once triggered, your automation handles everything else:
- Welcome email
- Contract delivery
- Invoice confirmation
- Intake form
- Calendar scheduling
- CRM tagging
- Internal notifications
- Project creation
- Access credentials
Instead of manually coordinating multiple systems, your automation becomes the operational backbone.
Why Automated Client Onboarding Matters
A fragmented onboarding process creates:
- Delayed communication
- Missed steps
- Poor first impressions
- Operational inefficiencies
- Client confusion
A structured automation-driven onboarding system provides:
- Immediate professional response
- Consistent delivery every time
- Reduced administrative workload
- Clear client expectations
- Faster time-to-value
For scaling businesses, automation isn’t optional — it’s infrastructure.
The Core Components of a One-Click Workflow
To build a fully functional onboarding system, you need these elements working together:
1. Trigger Event
Your automation begins with a specific event:
- Payment received
- Contract signed
- Tag applied in CRM
- Form submitted
This trigger initiates the entire workflow.
2. CRM Tagging & Segmentation
Immediately tag the client based on:
- Service purchased
- Tier/package level
- Industry
- Account manager
- Onboarding stage
Proper tagging enables personalization, reporting, and downstream automations.
3. Instant Welcome Email
Send a branded welcome email that includes:
- Confirmation of next steps
- Timeline expectations
- Link to onboarding form
- Scheduling link
- Contact information
This email should eliminate uncertainty and reinforce confidence.
4. Smart Intake Form
Your intake form should dynamically adjust based on:
- Service selection
- Business type
- Project scope
Collect only necessary information. Long forms reduce completion rates.
5. Calendar Scheduling Automation
Allow clients to book their kickoff call immediately using integrated scheduling tools.
Automate:
- Confirmation email
- Calendar invite
- Reminder sequences
- SMS reminders (optional)
Remove back-and-forth coordination entirely.
6. Internal Task Creation
Your automation should also:
- Create project in PM system
- Assign account manager
- Notify team in Slack or email
- Generate checklist tasks
- Update pipeline stage
Client-facing automation must align with backend execution.
7. Access & Resource Delivery
Automatically deliver:
- Client portal login
- Resource library access
- Welcome guide
- FAQ documentation
- Brand asset upload link
The faster clients feel oriented, the smoother the engagement becomes.
Step-by-Step: Building Your Workflow Inside MarketOmation
Here’s how to structure your automation architecture:
Step 1: Define the Entry Trigger
Set your trigger based on the conversion event (payment, contract, form, etc.).
Step 2: Apply Segmentation Tags
Immediately categorize the client for personalization and reporting.
Step 3: Send Welcome Sequence
Use a multi-step sequence instead of a single email:
- Email 1: Welcome + next steps
- Email 2: What to expect
- Email 3: Prep materials
Step 4: Add Conditional Logic
If client books kickoff → send prep email.
If client doesn’t book within 48 hours → send reminder.
Conditional workflows ensure nothing falls through the cracks.
Step 5: Automate Internal Notifications
Route tasks to the correct team member automatically.
Step 6: Track Progress
Use pipeline stages to monitor:
- Onboarding started
- Intake completed
- Kickoff scheduled
- Onboarding complete
Data visibility enables optimization.
Best Practices for a Frictionless Experience
Keep It Minimal
Automation should simplify, not overwhelm.
Eliminate Redundancy
Don’t ask for information twice.
Personalize Where Possible
Use dynamic fields like:
- First name
- Company name
- Service purchased
Use Clear Timelines
Set expectations early:
“We’ll review your intake form within 24 hours.”
Test the Entire Flow
Run through onboarding as a test client to catch friction points.
Advanced Optimization Strategies
Once your core workflow is live, you can enhance it with:
- AI-powered follow-up nudges
- Behavior-based branching
- Automated testimonial requests
- Onboarding satisfaction surveys
- Upsell automation triggers
- Client milestone tracking
High-performing onboarding systems evolve over time.
Common Mistakes to Avoid
- Overcomplicating the workflow
- Ignoring internal automation
- Forgetting reminder sequences
- Not testing edge cases
- Failing to monitor performance metrics
Automation without oversight leads to hidden inefficiencies.
The ROI of One-Click Onboarding
A properly built onboarding workflow results in:
- Faster project launches
- Higher client satisfaction
- Reduced admin labor
- Lower error rates
- Scalable operations
- Stronger brand perception
When onboarding is seamless, clients immediately trust your process.
Final Thoughts
Your onboarding process is not just administrative — it’s strategic.
A one-click client onboarding workflow transforms what is typically a chaotic manual process into a structured, repeatable, scalable system.
If you want your business to grow without operational bottlenecks, automation is your competitive advantage.
Build it once. Optimize it over time. Let it run in the background while you focus on growth.